I Fixed Betaflight's Most Tedious Setup Step: Board Alignment
No more guessing angles - this wizard finds your FC's alignment automatically.
The Problem
If you’ve ever built a drone and mounted the FC in an unusual orientation, you’ve probably faced the inconvenience of trying to align it properly in the Betaflight Configurator later, mostly by trial and error. Oftentimes, this is quite tedious, especially if the board is mounted diagonally or rotated on two axes simultaneously.
A Simple but Elegant Solution
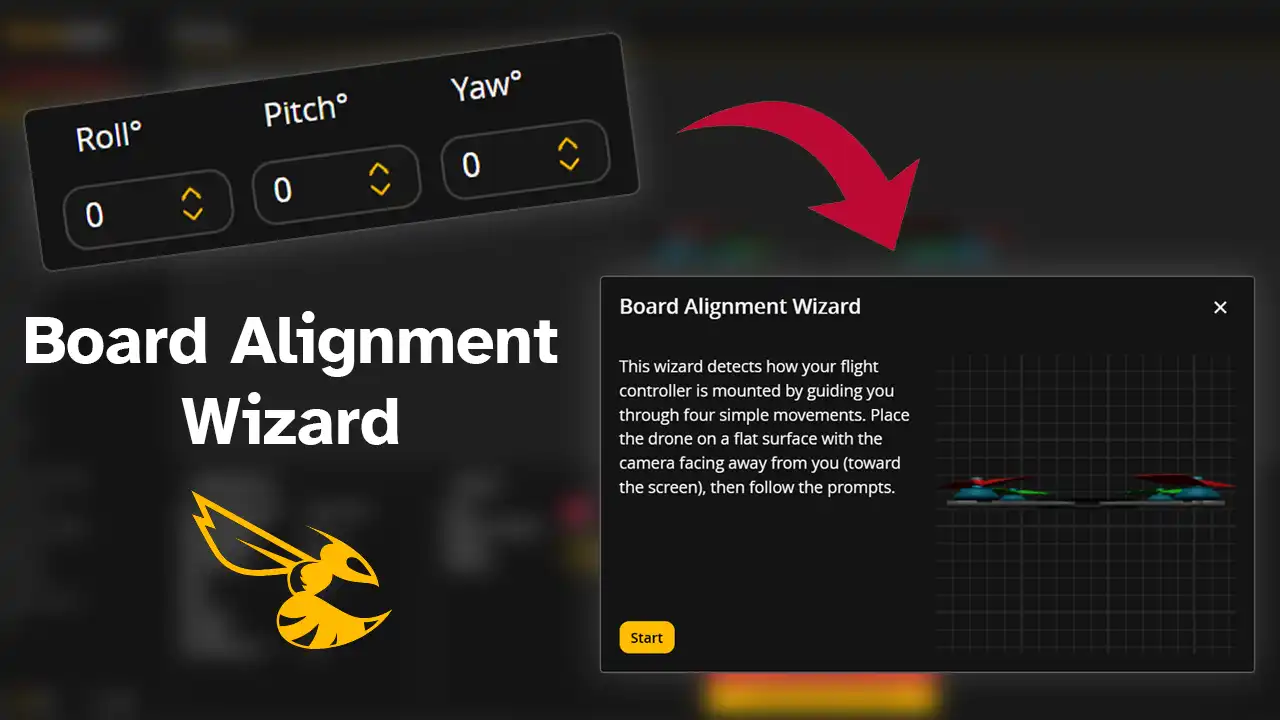
I thought: there are already amazing step-by-step wizards for things like motor direction, motor order — why not build a similar one but for board orientation/alignment? So I did just that!
Presenting…
Board Alignment Wizard
No more guessing, no more saving then checking. With one click and one tilt on each axis, the configurator will automatically detect how your board’s mounted and set the angle correctly.
Note
This feature requires Betaflight firmware version 4.5 or newer, and is only available on Betaflight Configurator 26.06 or newer.
Yes, it’s that easy. Let me demonstrate how it works:
- Firstly, I got a drone that has the board alignment messed up, so the 3D model doesn’t move as expected.
- This is exactly when this wizard comes in handy. To use it, go to the Sensors tab, then click Auto-detect board alignment.
- A new window will appear that will guide you step-by-step through the process. It’s simple.
- Place the drone on a flat surface, with the camera facing away from you (usually looking at your computer screen), then click Start.
- Next, simply follow the instructions. It’ll ask you to tilt the aircraft forward (pitch), right (roll), and rotate it right (yaw), letting the drone sit flat in between each step.
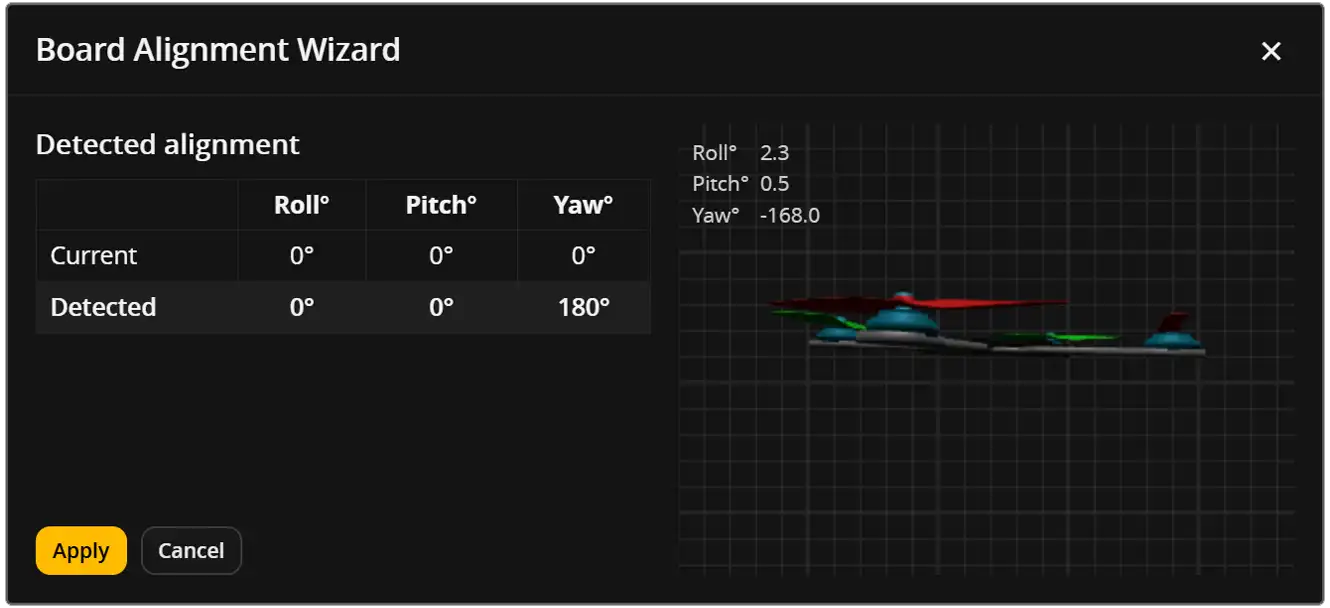
Once done, it’ll show the current board alignment and the new suggested values. On the side, you’ll see a 3D model to test the changes that will be applied. If everything behaves as expected, click Apply. Betaflight Configurator will reconnect, so leave the drone on a flat surface for a few seconds to calibrate the gyro, then check that the 3D model now matches your actual drone.
Here’s a video showing the process: